
To create a Twitter App, go and visit: https://developer.twitter.com/. You need to login to the developer site, using your Twitter account.
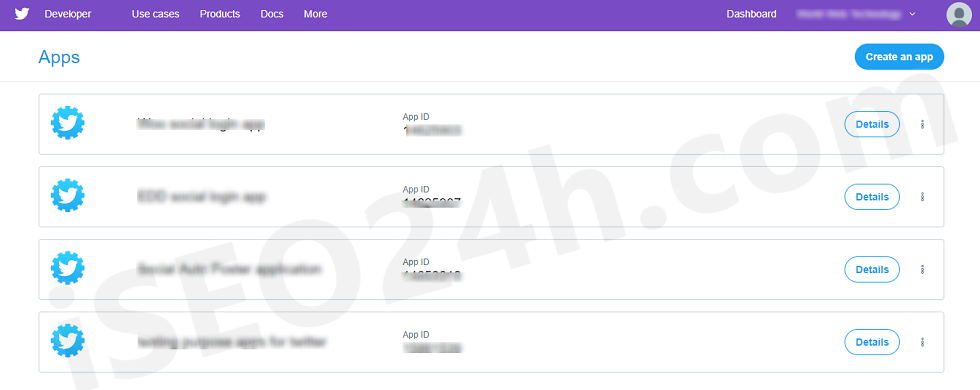
On the “Create an application” page, fill out all the information Twitter is asking for, just as shown in the image below:
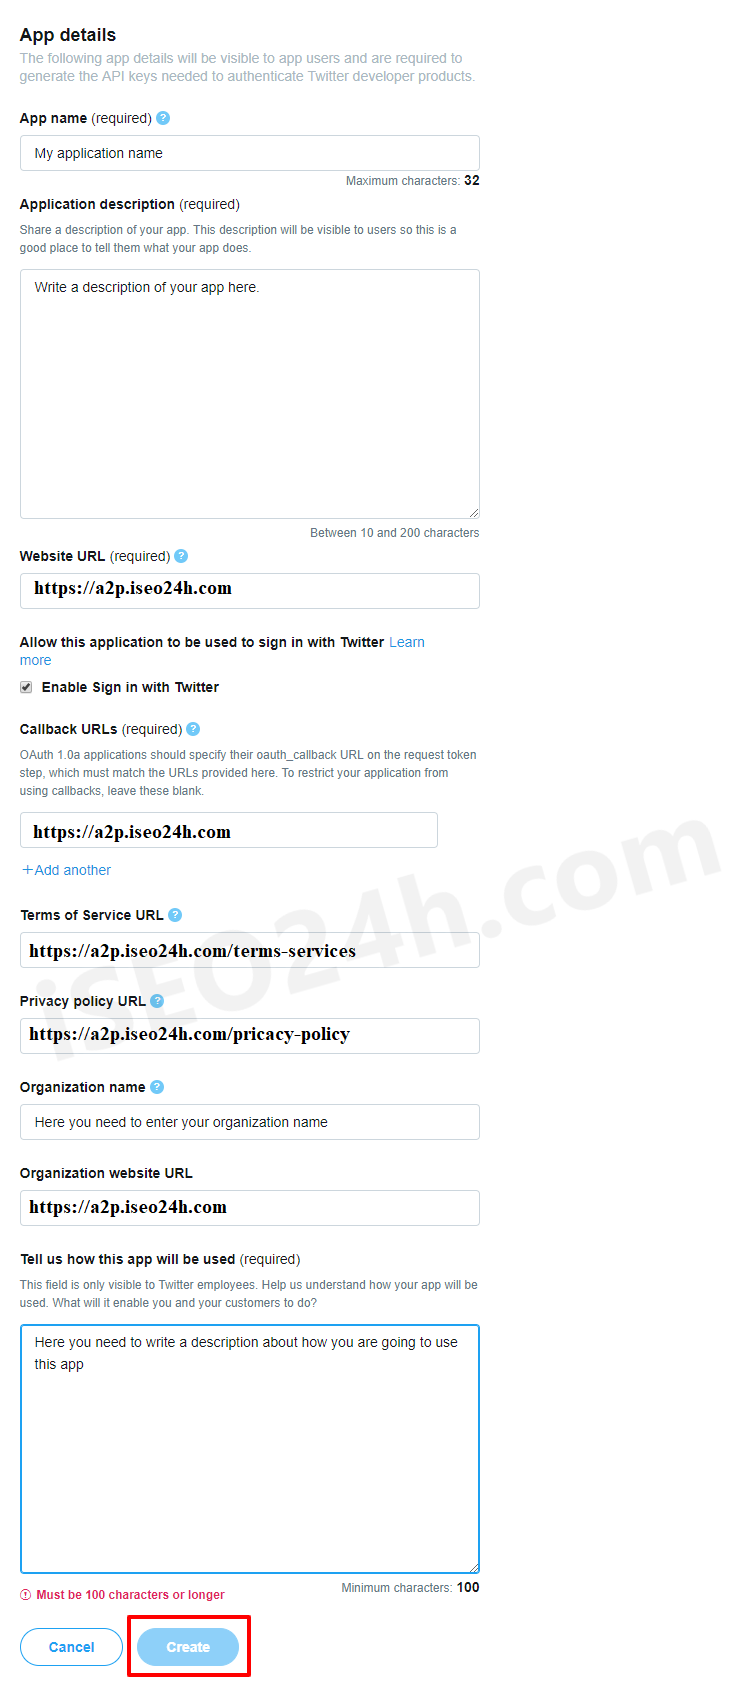
Note: When you enter the URL of your website in to the Website field, make sure that it does match the URL of your website 100%. This means, if you go to your website and then check the URL in the browser and the URL does look like https://a2p.iseo24h.com/ then you need to enter the exact same URL. If your website URL is https://a2p.iseo24h.com/ then you need to enter it that way, without using the www at the front of the name.
Use the same URL for the “Callback URL” field. If these entries do not completely match the URL of your website, the application won’t work and it will show an error message when you try to connect to the App.
After you successfully created the Twitter application you’ll be redirected to its “Details” Tab. click on the “Permissions” tab. In this tab you will find a “Access” option. please choose “Read and Write” from the list, scroll down and click on the “Update Settings” button to save your changes. See image below:
Note: If you don’t choose “Read and Write” option from “Application Type” section, the application won’t work.
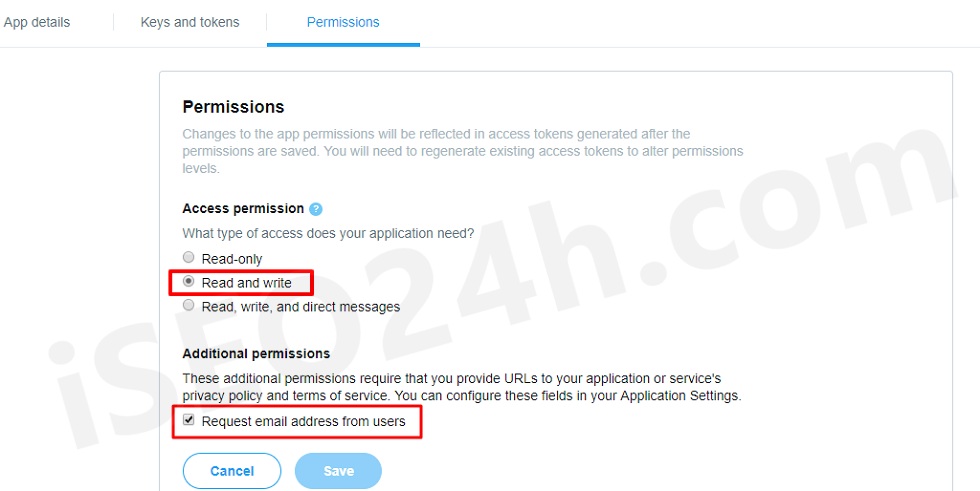
Important: After you saved your changes, go back to the “Permissions” tab check, if the changes have been saved and the Radio button is check on “Read and Write”. Sometimes it happens, that this doesn’t get saved on the first time and you need to make and save the changes a second and sometime even a third time. This setting is important, otherwise the plugin won’t be able to post to your Twitter Account.
Note: Request email address from users option should be enabled for Social Login plugin if you want to get user email address from the Twitter. You will only able to tick this setting if you have entered Terms of Service URL and Privacy policy URL.
After you make sure, that the settings have been saved, go to the application’s API keys page by clicking on the “Keys and Tokens” tab.
Now, click on the “Create” button.
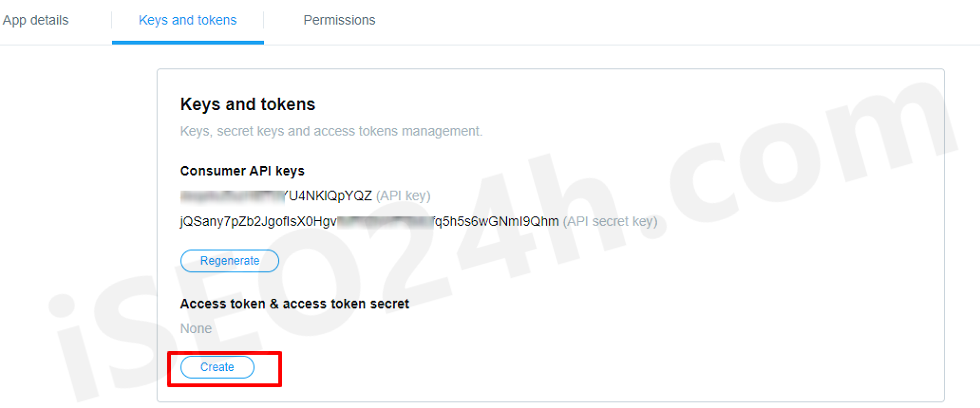
This will create the access tokens for your Twitter app. After it has been created you should see them above the button, as shown in the image below:
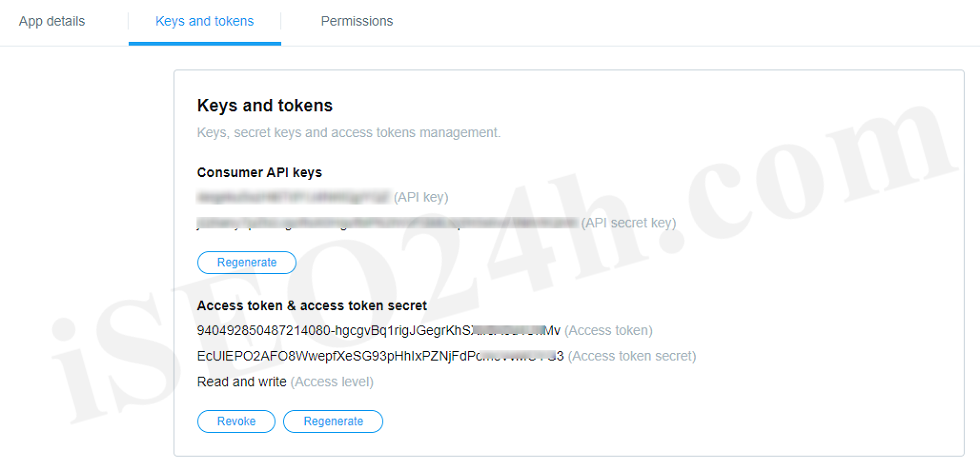
Make sure, that the Access level is “Read and write”. Copy and paste the Access token and the Access token secret in to the plugin settings page, within the Twitter Settings box. Do also copy and paste the Twitter API key and Twitter Secret key in to the settings page which can be found on top in the “API keys” tab. See image above:
Important: When you copy and paste all the needed IDs and Keys, make sure, that you don’t have any empty spaces, either at the beginning nor at the end of these entries. If you have any empty spaces, then the Application won’t work and will show an error message when you try to connect to the App.


